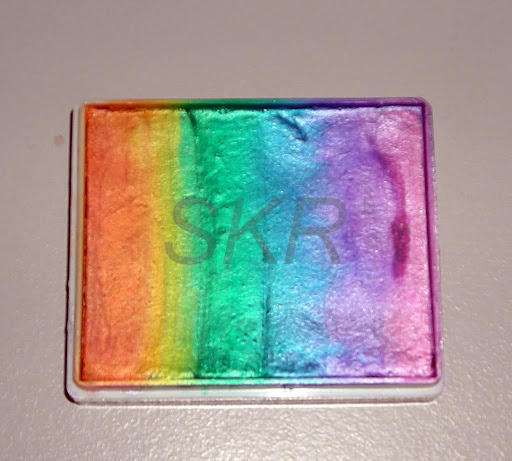
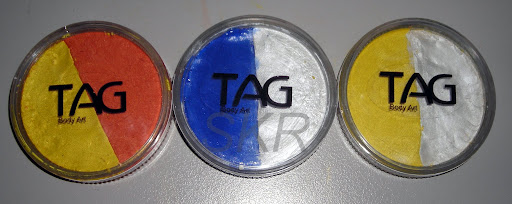
This is a ready made rainbow split cake I’ve purchased, in lovely pearl/metallic colours. I will be making much simpler split cakes with only two colours. The reason for this is that I have to buy less colours to be able to make them, and leaving me with large areas of colour means I can use just one colour on my sponge or brush if I need, or load both colours together. This is also a much more compact way of packing twice as many colours to take with you, using only half the space.
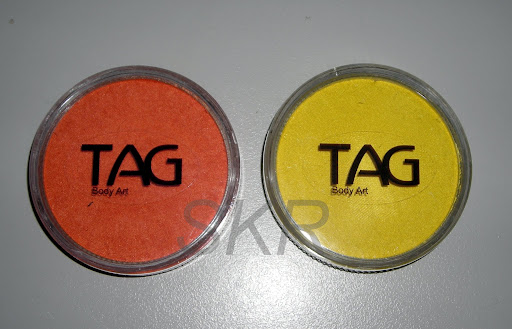
Start with two standard cakes. Here, I’m using TAG Pearl Yellow and Orange. Test both to make sure they are soft. If your cakes are very old and crumbly, you will need to wet and warm then a little to soften them.

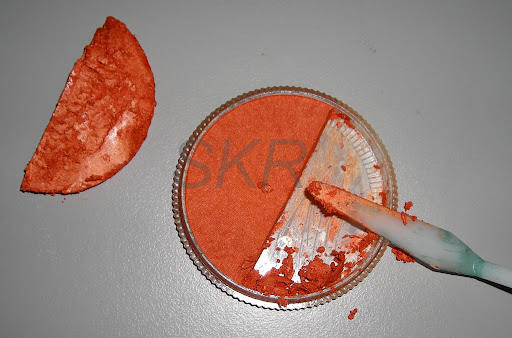
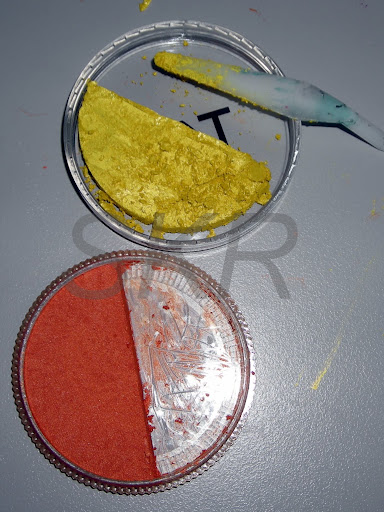
Using a clean knife, cut the split cake in half. Don’t press too hard, you don’t want to cut into the plastic container.

Gently dig out half of the cake. I used a small plastic palette knife for this. Each cake will be a slightly different texture, the colours change the composition slightly. Some are slightly rubbery and come out in one piece. Other’s are more crumbly. Don’t worry if you need to dig out some crumbs, they just press back into the cake.
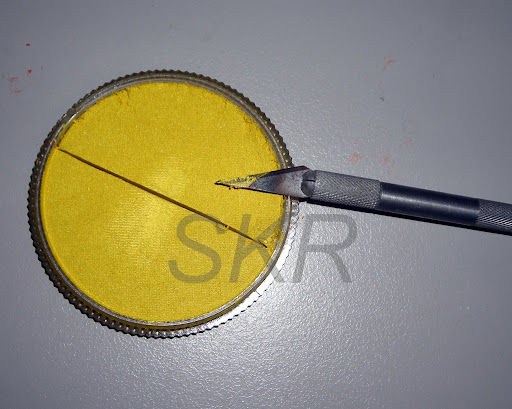
Do the same with your second colour. Clean all your tools between colours.
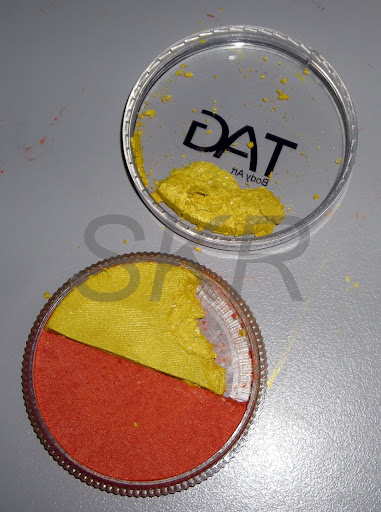
Now take half a cake that’s been removed, and neaten it up to press into half the cake tray that hasn’t been dug out. Wherever possible, add the lighter of the colours to the darker colour.
My yellow was quite crumbly and broke apart. Don’t worry about this, it presses back together fine!
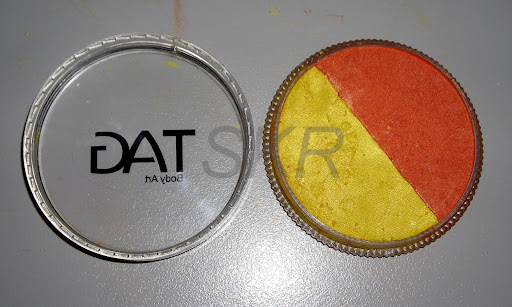
Viola!
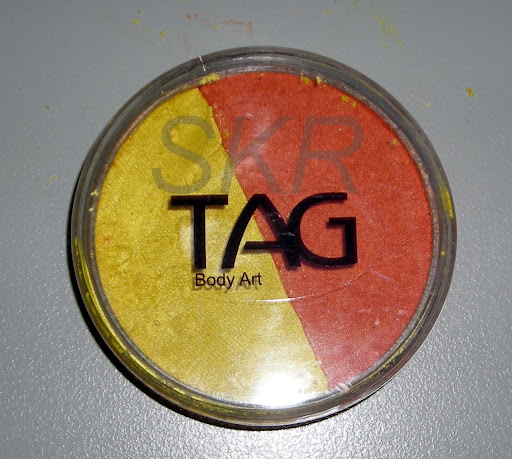
Repeat with your other colours:
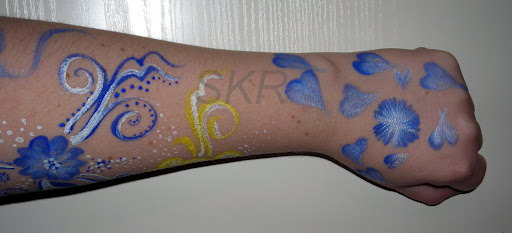
And practice double loading your brushes:
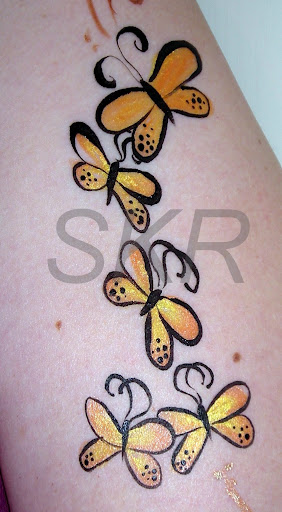
Orange and yellow butterflies painted with a double loaded brush.

Hello, I just bought some tag paint to make split cakes but they are crumbly. Can you please help me? How to I soften them so I can cut into them without getting the slice of paint falling apart and all crumbly.
Thank you, katie
LikeLike