Small Object Making class: start at the beginning:
Well, despite setbacks all over the place, I’ve been making major progress with my shadow sculpture! I got into Tafe last week with all my bits of glass, a large panel of wood from Bunnings and the only vaguely suitable light source I could find after far too long looking – a small LED torch, expecting to gets lots accomplished. Alas, on testing it turned out the small torch was completely unsuitable. It had about 9 tiny LEDs, which cast multiple overlapping shadows blurring the image. So I spent the time fixing up my new wood vice (this is for clamping wood projects firmly so I can carve into them with chisels safely – you don’t want to hold in one hand and carve with the other when it comes to chisels!) and finishing off my journal as far as I can. My sculpture tutor loved the glass design so I’m pretty happy about that too. Here’s my new wood vice:

The inset panels I cut and drilled myself to fit, they are lovely oak from scraps at the studio, and will protect any project clamped in there.
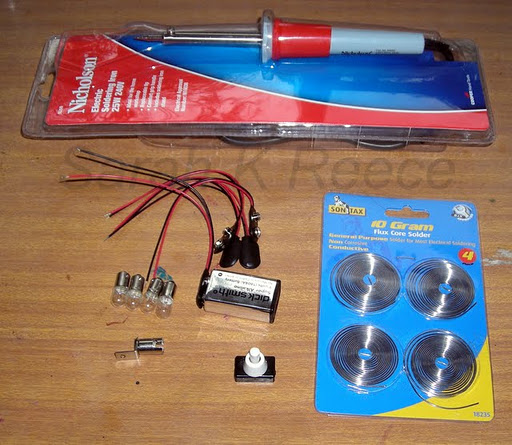
I trundled off to Dick Smiths and bought some basic bits and bobs to wire in a light globe myself. I remember rows and rows of fascinating little thingammy bobs in Dick Smiths when I was a kid, but these days it seems they mostly stock finished electrical items rather than components. No kit sets, no instruction books. I did do a little electronics when I was a lot younger in school, but that is many years ago and I don’t recall it. Very helpful store employees at Dick Smiths and Bunnings sent me home with this:
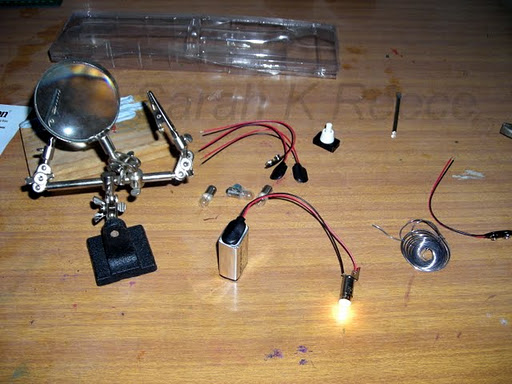
I looked up some Youtube clips about soldering as I’ve never done that before either. It’s both nerve wracking and exciting to be right out of my comfort zone like this! The most nerve wracking part I think is the possibility I’ll now have another entire set of tools and components to crave… I wired it up and soldered a join. It’s quite tricky!
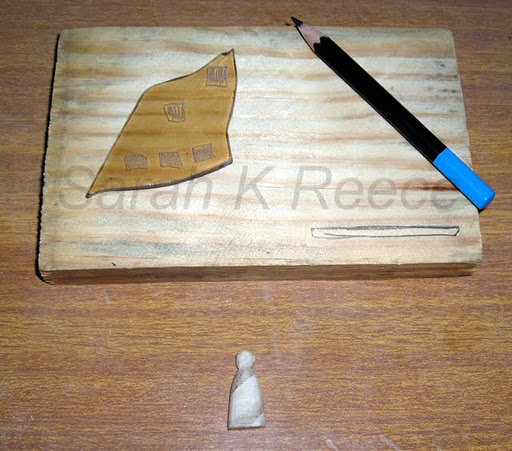
Then I carved my little figure out of wood and drew a template to set the glass into my wooden plank (testing the process on scrap first):
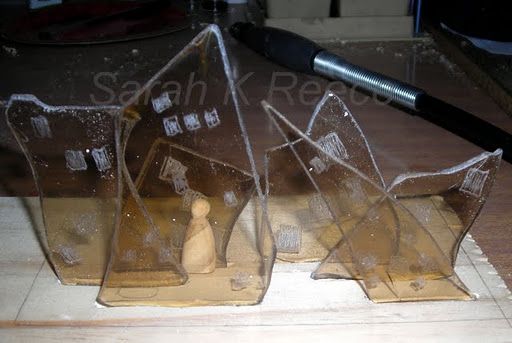
And carved some channels for the glass in my good wood:

Set everything in place:
Then took it all out again to drill a hole for my light bulb:

Hurrah!
Next step – buy a jigsaw and cut out the wooden panel, and create a box beneath it to contain the light fitting, wires, and battery, and inset the switch. Then sand, wax, glue in all the components, and come up with a way to make the battery secure but removable, and I’m away laughing.
To see the next post in this series
- Broken city glass – final
